Ticketing
Ticketing is the process of managing and maintaining lists of issues/requests. Ticketing is often used for customer support issues, but can be used for lead capture, contest submissions, media inquiries, or any other inquiries/submissions a company would like to keep track of.
Before moving forward with the following exercises you will need to have 2 groups set up within your account; one group titled “Ticketing Management Team” to identify who handles the tickets (typically your support team and their management) and a second group titled “Ticket Submissions” to collect contact data for the clients who fill out the ticketing form. Moving forward you can have as many ticketing forms and ticket categories with any group names you would like.
You will want a separate internal management group for tickets because any updates to tickets are automatically sent to members of this group (this is why you want to leave this group as management or just yourself). It is perfectly fine to just have yourself as one contact in this "Ticketing" group so this way all ticket updates are just sent to you.
Creating a Ticketing Form
For reference, here are the steps to create a ticketing form:
-
Open up your GreenRope account
-
In the group drop-down list, select the group you want your form associated with.
-
Hover over Apps
-
Select Ticketing
-
Click on the Ticketing Categories tab
-
Click New Category
-
Enter a category name
-
Select who the tickets will automatically be assigned to
-
Set an alert
-
Select Save
-
Click on the Public Forms tab
-
Click New Ticket Form
-
Enter a Ticket Form Name
-
Customize the form header
-
Assign the form to a category (created in steps 5-10)
-
Select the group(s) you would like form fillers to be added to
-
Select which fields you would like included in your form
-
Continue filling out each field to customize the details of your form
-
Decide what happens after the ticket form is submitted
-
Enter a Thank you message or URL
-
Enter a notification name and email address
-
The New Ticket Emails area allows you to create an auto response to the submitter
-
The Follow up Ticket Emails area allows you to create an auto response to the submitter after a specified length of time.
-
Under More Options you can setup a workflow and request quality feedback
-
Select Save Form.
|
|

Updating and Closing a Ticket
Exercise 3B: Updating and Closing a Ticket
-
Open up your GreenRope account
-
Click on the "Guide Me" button
-
Complete the “How to Close a Ticket” exercise
For reference, here are the steps to add lead scoring:
-
Open up your GreenRope account
-
In the group drop-down list, select the group your email template is saved in
-
Hover over apps
-
Select Ticketing
-
Click the Open Tickets tab
-
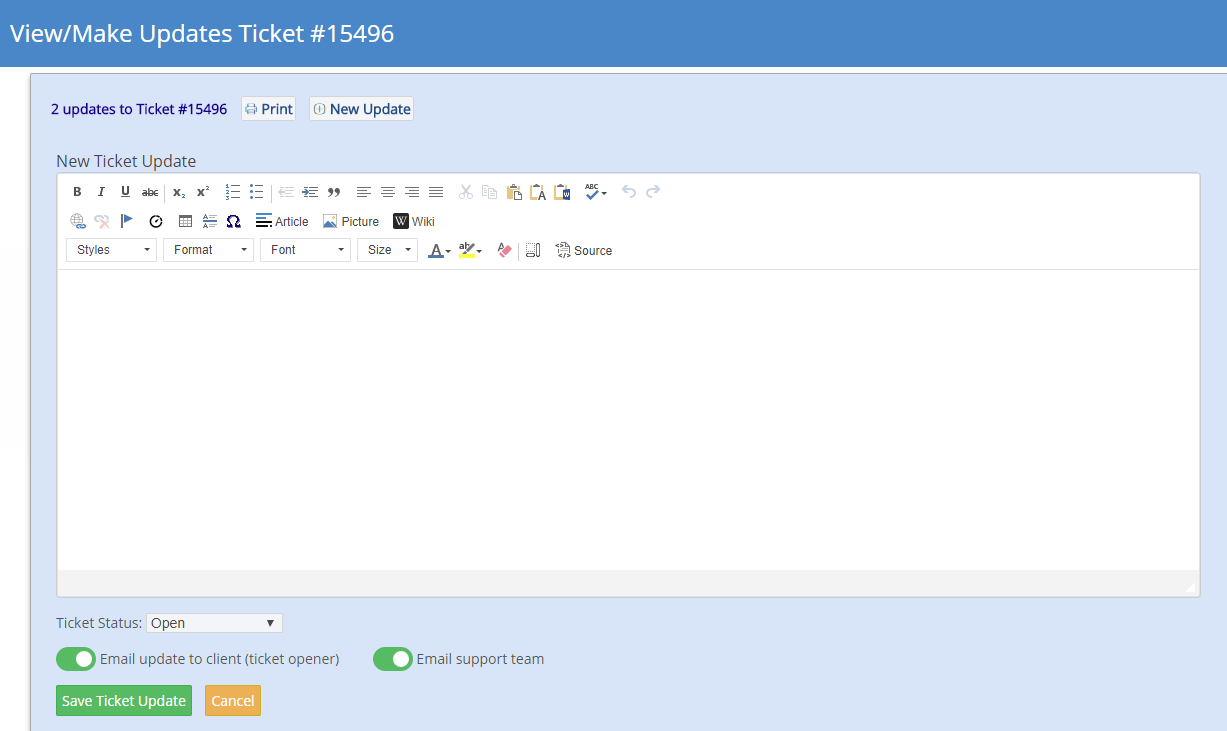
Select the option t View/Make Updates
-
Click New Update
-
Use the editor to update the ticket
-
Change the status of the ticket to closed (optional)
-
Decide who will receive a copy of the update; the ticket opener and/or your support team
-
Click Save Ticket Update
|
|